Macro & Micro
Introduction to Pathway Release Protocol
Releasing the tension compression of the misalignment is a whole lot of work. We have learned that the human body is complex. After a trauma it attempts to restore the skull above the pelvis; in doing this, it “generates” a 3D tension-compression posture that supports a more optimal posture. This is not a linear response nor will one vector be corrective. This is a neurological reaction that the Myofascial Envelope (MFE) responses. It is these tension lines (that are attached along the mastoid and nuchal regions) that QSM3 focuses upon to access and release. This then restores the natural orthogonal and upright position (Tensegrity) of optimal human posture and function.
When our focus was articular (bone, C1, etc.), our approach was just a few pulls and “done”. Just as we once saw (C1) as the focus of our work, we now visualize a flow pattern leading from cause to correction. Considerably more work is necessary to access and release the complexity of the mechanism to maintain 3D postural support. The focus of the QSM3 work is to release multiple pathways (units) to deliver a more stable release of the energy systems of both doctor and patient. Parallel pathways, which have been palpatorily identified, actually access and release multiple pathways of resistance with a single larger wrist lever.
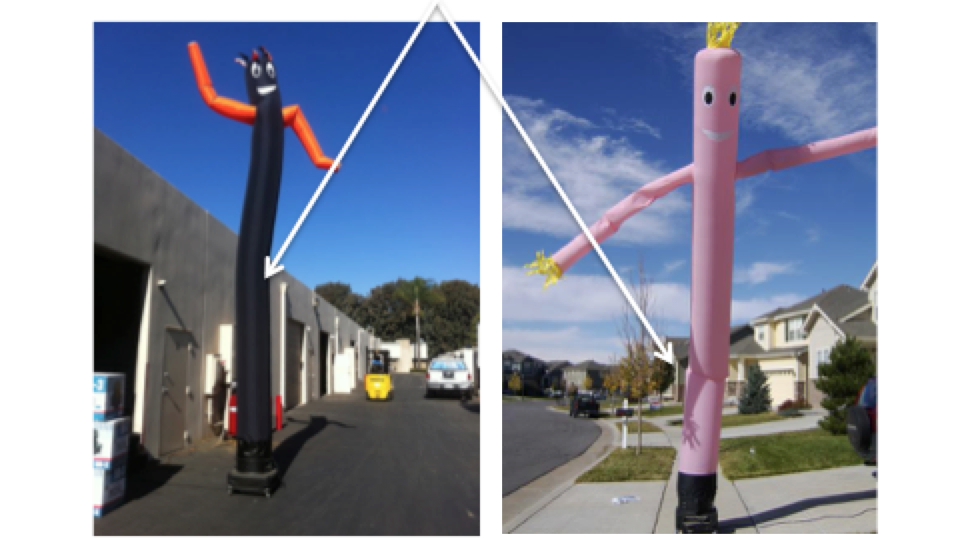
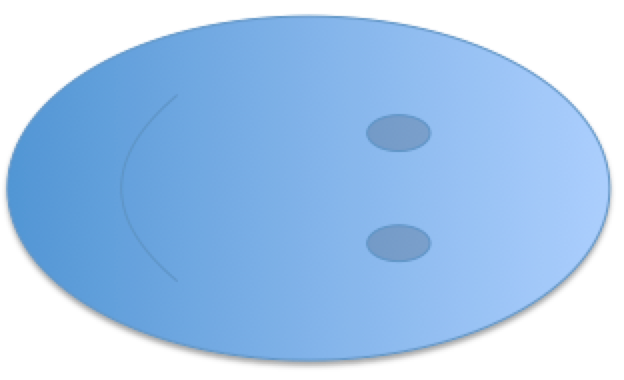
The human frame is not lines but a cohesive filled system. It has an internal pressure that exceeds gravity when orthogonal, much like a blow up doll or even an “Advil liquid gel capsule” (Figure 1.). Unfortunately, the human body is subjected to injuries to the matrix of the myofascial envelope (MFE), just as occurs to the plastic of the blow up doll, or the “envelope” of the capsule of the Advil liquid gel. These injuries weaken the MFE and create wrinkles in its fabric (Figure 2.). DD’s thoughts, traumas, and toxins cause these weaknesses. Gravity compresses the areas in much the same way as the blow up doll deflates. It is our energy input that is used by innate intelligence to heal these areas. It is our ability to release that energy into the body at its optimal receiving port that heals these areas.
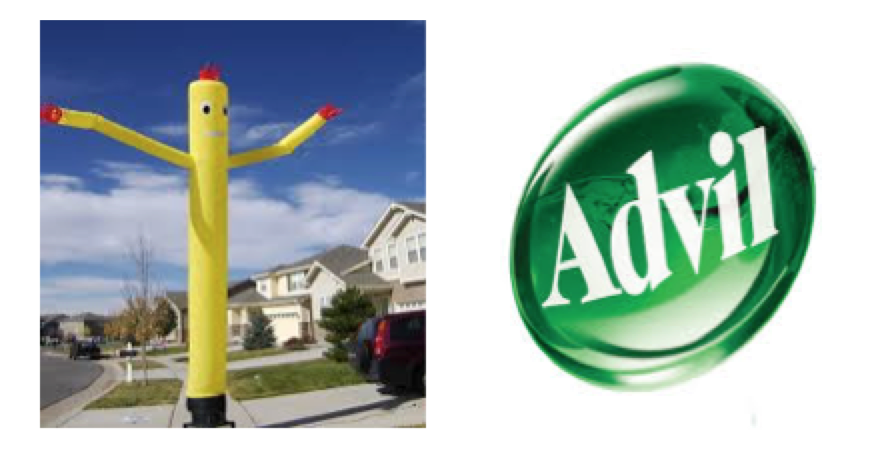
Figure 1.
Trauma Producing Injury to MFE
Figure 2.
Tension units that are parallel, or traction with the same headpiece placement and our wrist lever, are Macro units. It is these Macros that can be tensioned together as a unit and then released together. This is easier on both patient and doctor. These Macros are best on the downward slope of the skull. The mechanical advantage above or below the center of gravity and the downward slope of the skull produces significant mechanical advantage known as rotational torque or angular momentum. (See Figure 3. Below.)
I to S Wrist lever
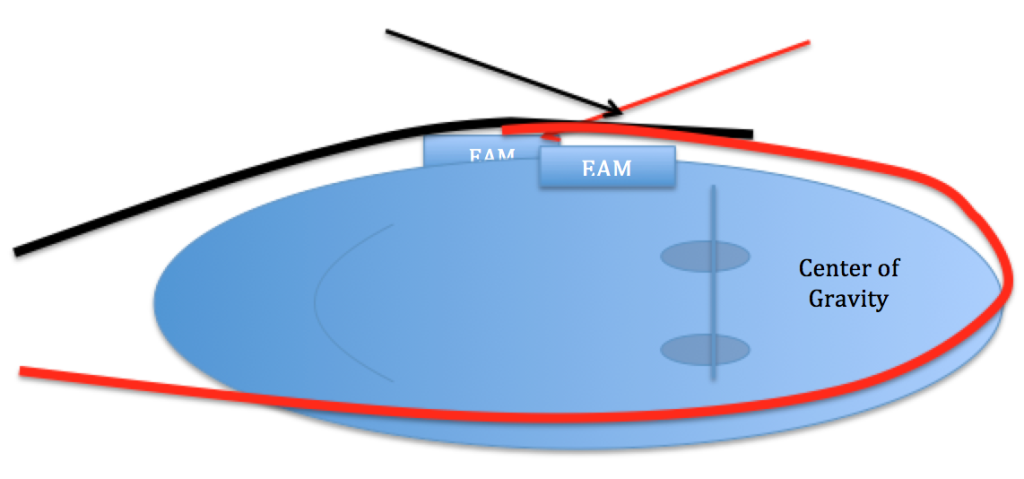 Figure 3.
These two factors allow for a significant power to tension leverage that can access and release multiple (units) GTO tension lines.
For a DOWN headpiece the Up side resistant pathways are tensioned to release optimally in an I to S motion (black arrow, Figure 3). For an UP headpiece, the Down side pathways are tensioned to release optimally in a S to I motion (red arrow,
Figure 3).
For a DOWN headpiece, the doctor approach is along the rotation first (A to P or P to A). The contact is approximately ¼” from the ear itself. At the ear, the wrist lever turns I to S in a “large sweep” or L motion (Figure 4). At maximum tension, the release is either I to S or a slight downward drop to the floor. This is especially important on the side of skull tilt and when the weight side is UP to release the UP side Macros. The final wrist lever LOD release may be slightly off the I to S line as depicted in Figure 4 red lines.
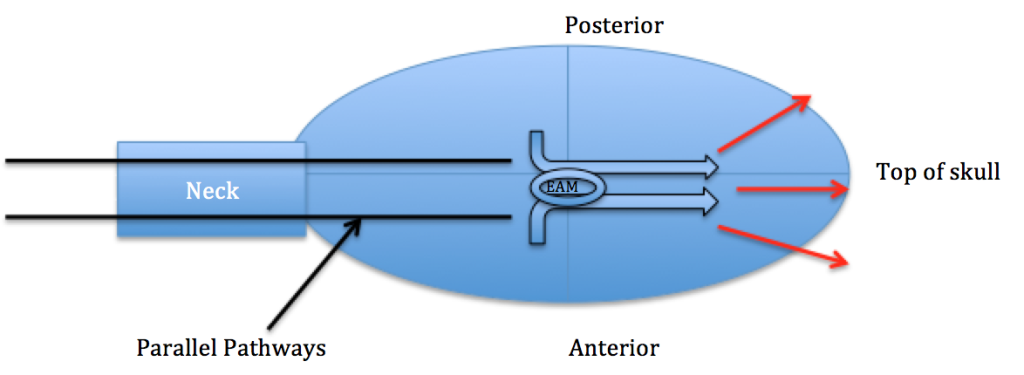
Figure 4. DOWN Headpiece
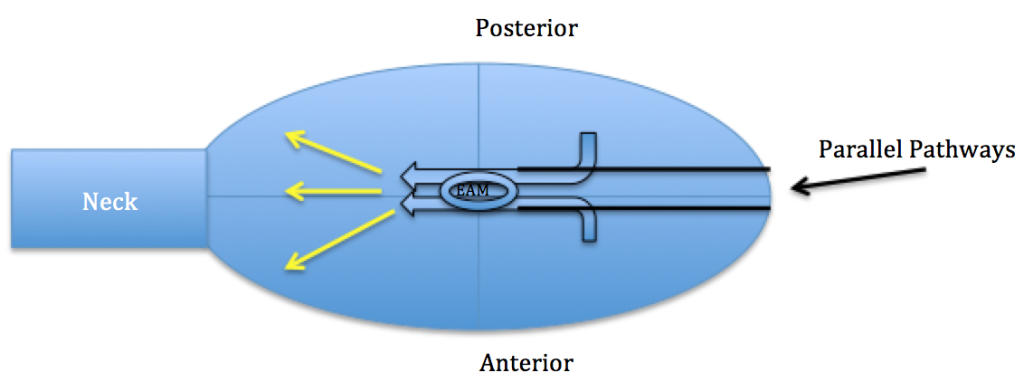
Figure 5. UP Headpiece
For an UP headpiece, the doctor approach is along the rotation first (A to P or P to A) as well. The contact is approximately ¼” from the ear itself. At the ear, the wrist lever turns S to I in a “large sweep” or L motion (Figure 5). At maximum tension, the release is S to I or a slight downward drop to the floor. This is especially important on the side of skull tilt and when the weight side is UP, to release the Down side Macro stabilizers (Figure 6.). The final wrist lever LOD release may be slightly off the I to S line as depicted in figure 5 yellow lines.
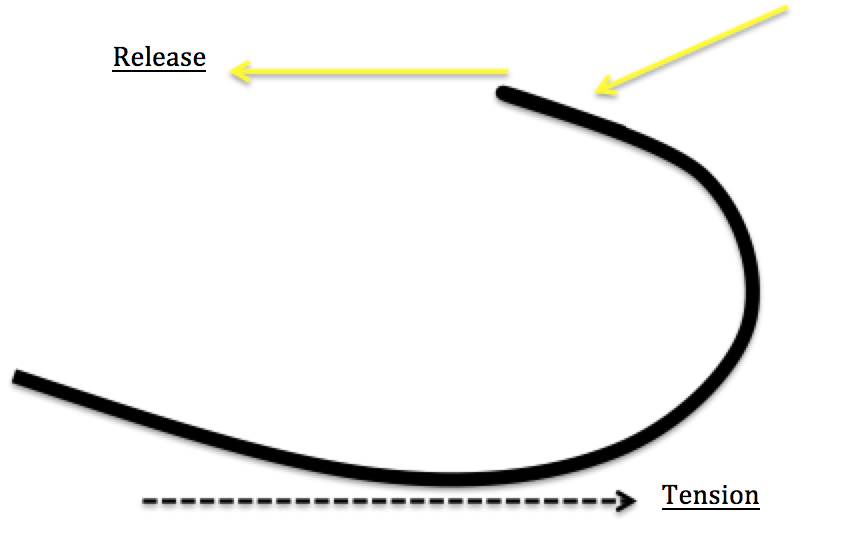
Figure 6.
Figure 7 depicts the action for an UP headpiece Macro (yellow lines) and a DOWN headpiece (red lines).
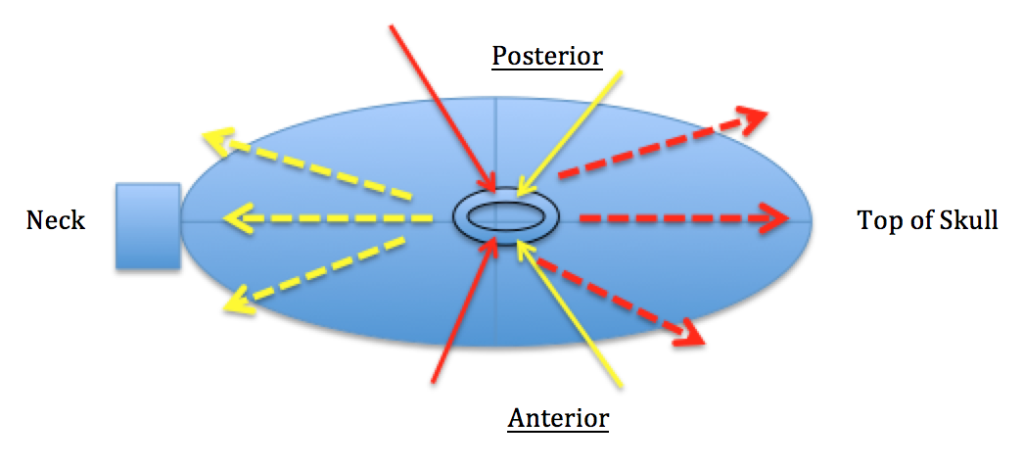
Figure 7.
With a DOWN headpiece, lower and upper resistant lines are tensioned (preload) to release I to S along the rotational component. The red lines in Figure 5 show the LOD and, just as with the macro lines, a rotational angle (red lines) and a sweep I to S (red dash) will release multiple pathways as units.
With an UP headpiece, the frontal plane stabilizers that insert above the EAM are released S to I (yellow lines) (Figure 7.). They originate from the opposite side and come around the skull as they attach on the UP side aponeurosis (Figures 6. & 7.). Their release is S to I for the same fundamental reasoning that tension activates the GTO to release the pathway. The LOD is to enter with the rotational (anterior or posterior) approach and then turn S to I for a more complete multi-line release.
The release process always starts with surveying the terrain for resistant pathways or tension lines. Get your rhythm and expose that pisiform. Hip explosion and wrist lever synchronicity are imperative. This is not an adjustment. It is the dynamic body approach of our mass that accesses, tensions, and releases the pathways as Macro units. Macro lines must be accessed and released first. Once all the Macros are released in a particular headpiece placement, the individual and/or non-parallel tension lines called “Micro” lines can be accessed & released.
Only an UP headpiece has Micro lines. There are two major micro lines that run in an X format below the EAM (Black lines) (Figure 8). They run mostly at 45 degrees. Micro lines below the EAM release I to S.
For the UP headpiece:
- Release Macros with rotational and long S to I wrist levers- Red LOD
- Release Macros S to I along the 45 above EAM- Yellow LOD
- Release Micros I to S (dash white) along the 45 below EAM- Black LOD
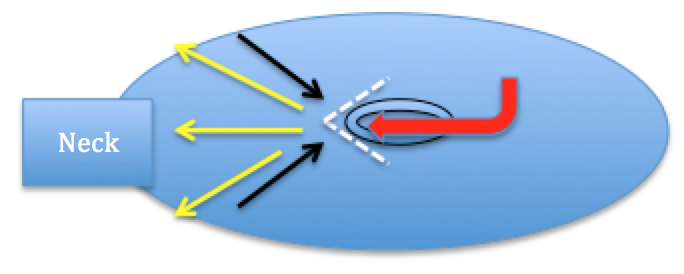
Figure 8.
It is the S to I motion on the UP headpiece that releases the compression on the down side. And it is the I to S motion on the DOWN headpiece that increases tension on the UP side. At then end of tension set you’re mass DOWNWARD towards the floor, to complete the release and restore normal tone. This is a foundational principle of QSM3.
Russell Friedman DC
Board Certified QSM3, NUCCA Orthospinology
